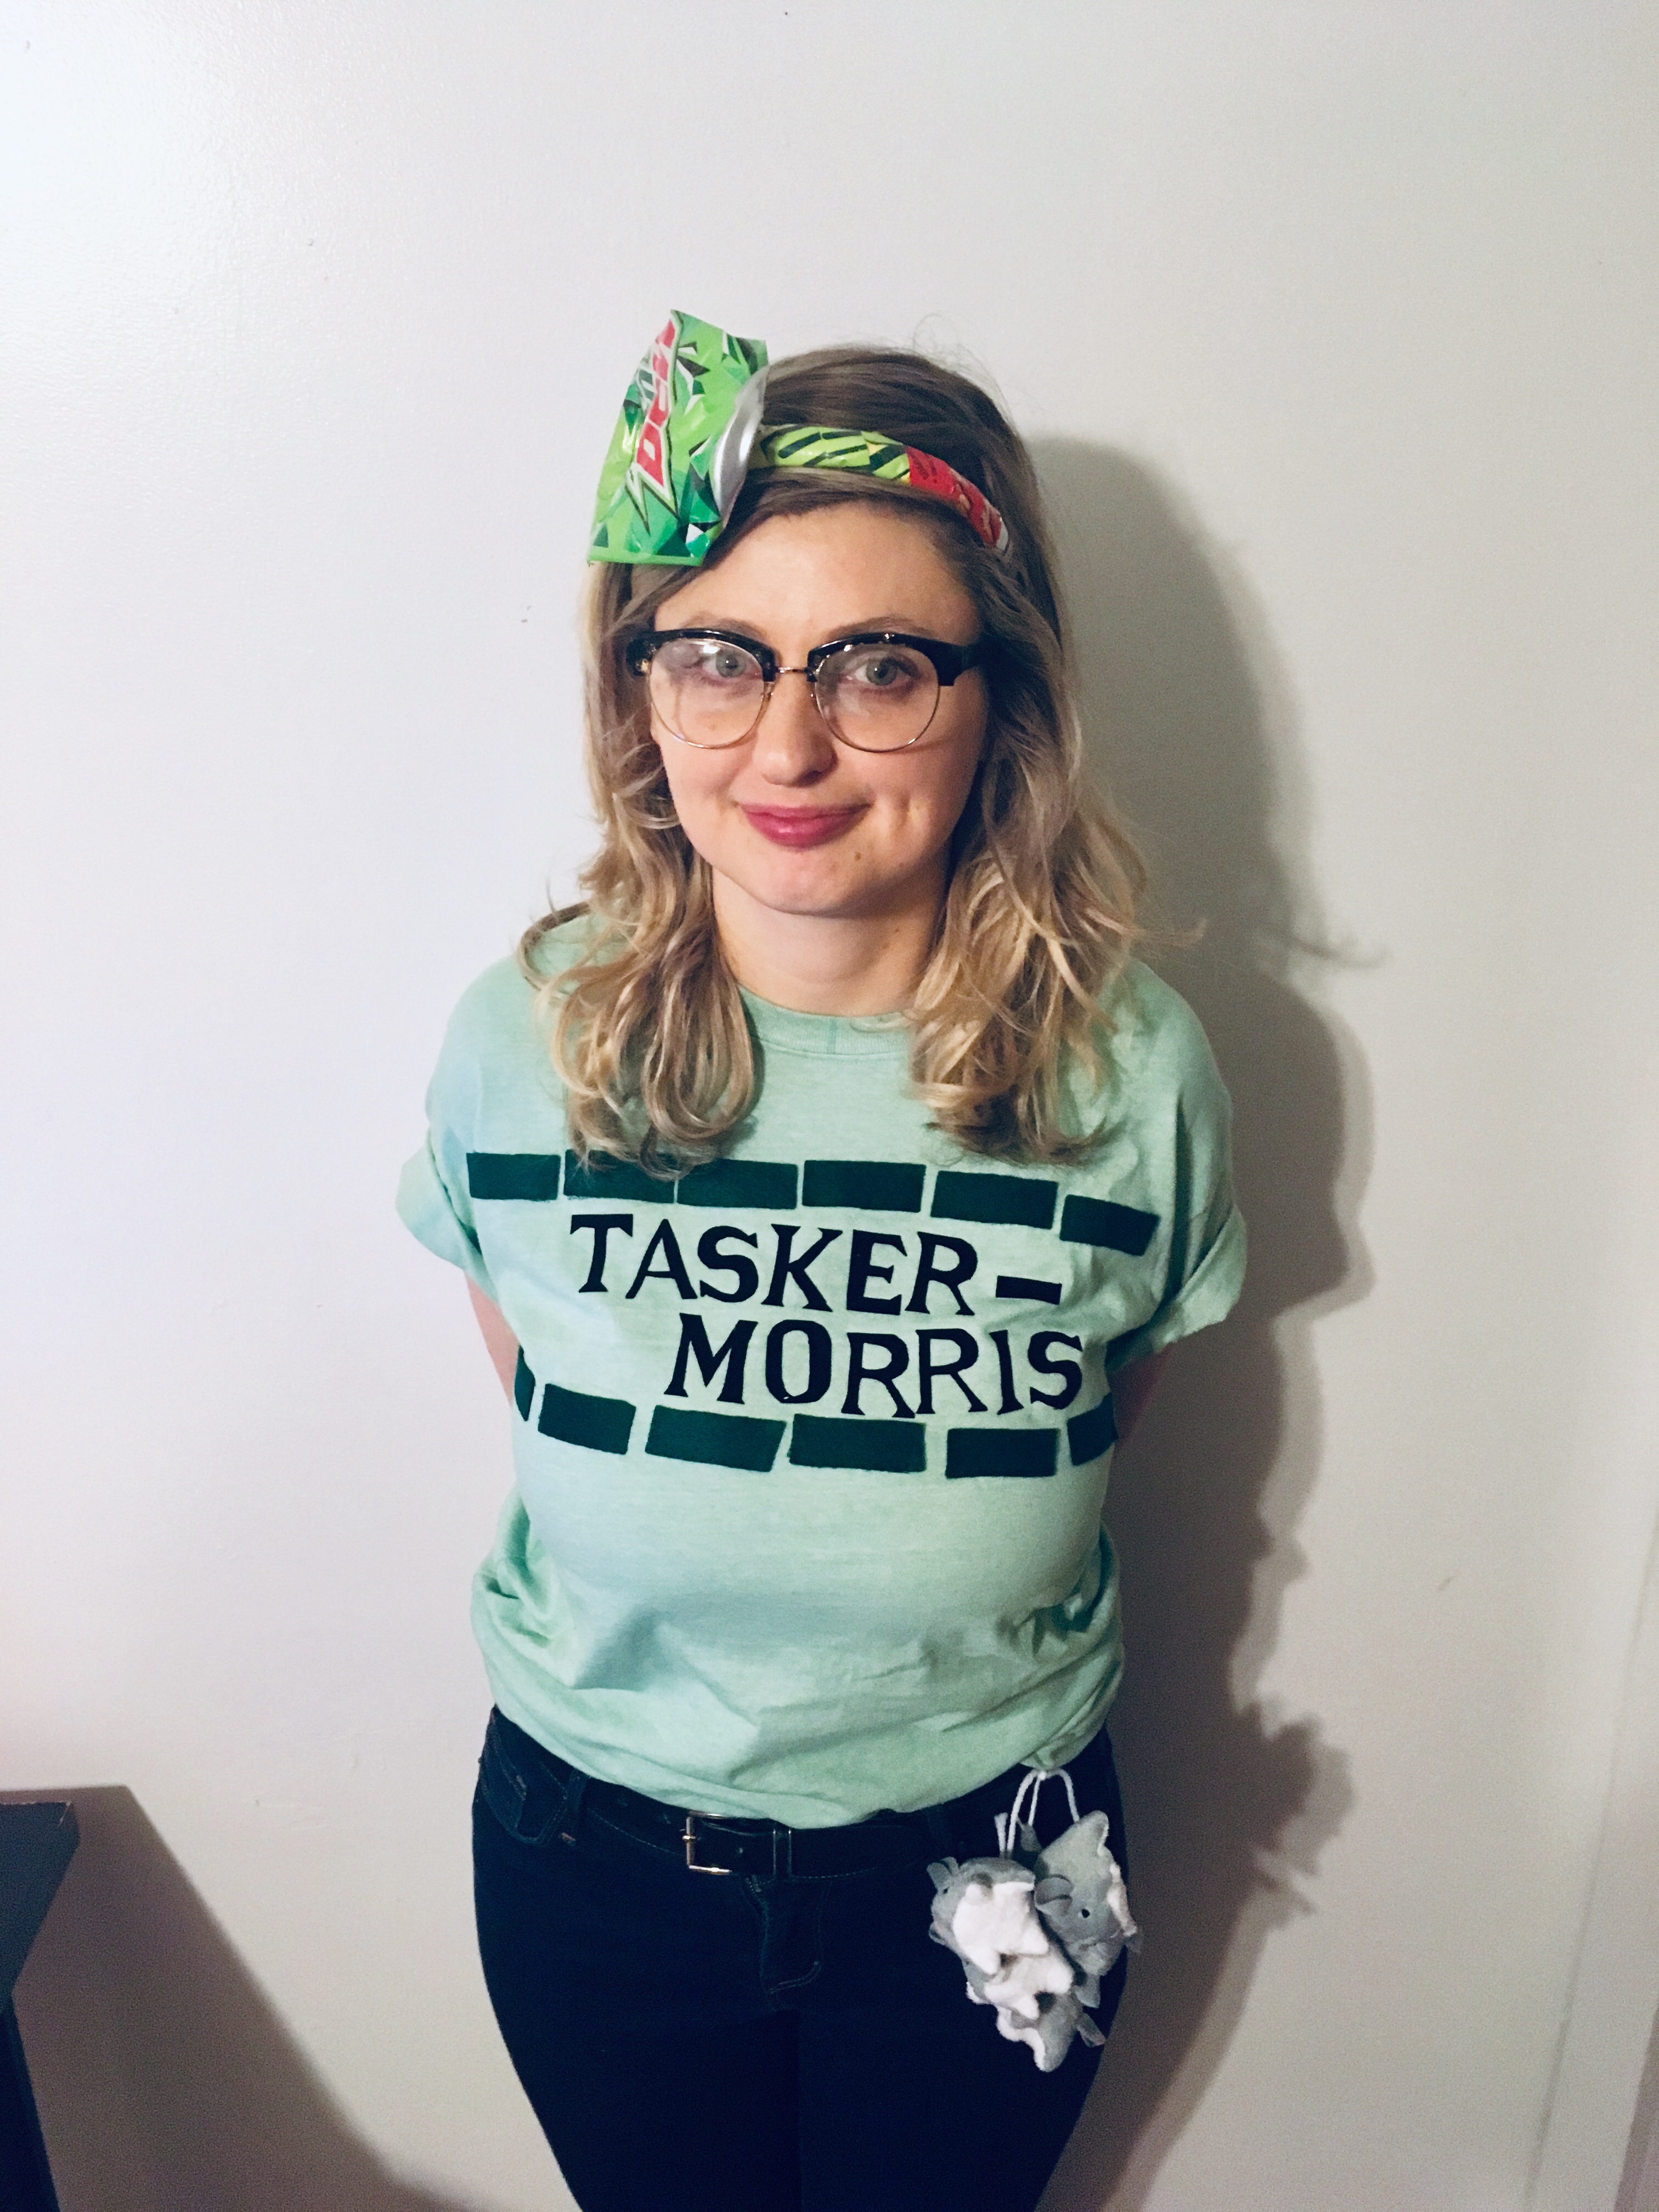
As Halloween is fast approaching, I thought I would share an easy relatively inexpensive (<$20) costume idea: a subway stop. In addition to being inexpensive, this costume is comfortable enough to wear all evening.
I love the Tasker Morris stop (I previously made myself a pin because I’m such a fan!), and took a reference photo of the font the last time I was there. I recommend taking pictures of any of your favorite buildings or signs-you never know when you’ll need to base your outfit off one!
Materials:
Shirt:
- White T-Shirt
- Fabric dye
- Iron on letters
- 1 sheet of felt
- Stitch Wichery (any iron-on fabric fuse tape)
- Scissors
- Iron
- Straight pins
For Headband;
- Headband (I use these leatherette headbands for all headband crafts, they are comfortable and available at Rite Aid)
- Mountain Dew Can
- Hot Fries bag
- Hot glue
For ornamental ‘rat king’ on belt:
- 4 Dollar Tree cat toys
Process
Shirt:
- Dye the shirt- I used the washing machine method for this project (first time I have ever done that). Follow the instructions on the dye box. I wanted the shirt to be a lighter shade of green than the box so I only added half the dye. I wasn’t overly precise in terms of color matching with wall tiles of the subway station.
- Iron the shirt. Dry the shirt first, iron it if there are wrinkles.
- Cut out iron-on letters from the sheet. The letters that were available to me were in that 70s bubble font (Cooper Black?). I used regular scissors to trim each letter to make it look more like a serif font.
- Cut the felt and cut the Stitch Witchery. cut the felt into small strips (mine are about ½ inch by 2 inches) to represent the contrasting tiles in the subway station. Cut Stitch Witchery in lengths the same a s the felt-this is how the felt will attach to the shirt.
- Time for the iron! This can be tricky to arrange everything on the shirt and iron it down. Follow the instructions on the letters for how best to attach them to the shirt. It’s better to do a little more heat than a little less heat. The felt tiles have to be ironed with the shirt inside out-the felt will be too thick for the heat of the iron to fuse the stitch witchery. I used straight pins to keep the tiles in place after arranging them and turning the shirt inside out.
Headband:
- Enjoy and rinse out the Mountain Dew and the Hot Fries.I was unable to enjoy my hot fries, as they are gross.
- Flatten the Mountain Dew Can. I used a rubber hammer but I do not think that was necessary, any number of heavy things will work.
- Wrap the headband in hot fries packaging.Cut the Hot Fries bag into a continuous strip, about ½ thich. Wrap the headband with the strip of hot fries bag- use hot glue on both ends, but also dot intermittently so that the wrapping stays in place.
- Hot glue the can in place. Put the headband on and use a mirror to confirm the most pleasing placement.
Rat King:
- Tie cat toys together at by their tails.
Loop one or two of the toys through a belt loop, so that it stays in place all night.