Remote tastings are one activity during the pandemic that has brought me a lot of joy. Love recreational PowerPoint presentations. I’ve created tastings for gin, fruit-forward IPAs, whiskey, sour beer, and session IPA, and attended ones for carrot cake, salt & vinegar chips, and canned rose. I have a format that works really well: the tastings move quickly and offer plenty of opportunity for social connection which can sometimes be difficult on virtual hangouts.
These events have worked out so well, I thought it would be a shame to not share my ‘template’, slides, and the things I’ve learned doing these.
The first thing to know is that there is no legal way to ship alcohol here in Pennsylvania. If you live in PA, or a place with similar laws, any alcohol tastings have to be with friends who live close enough where you can hand-deliver supplies. Unless there is a global pandemic, you might choose to just do the tasting in person (which is ALSO fun!).
All my tastings follow a similar format:
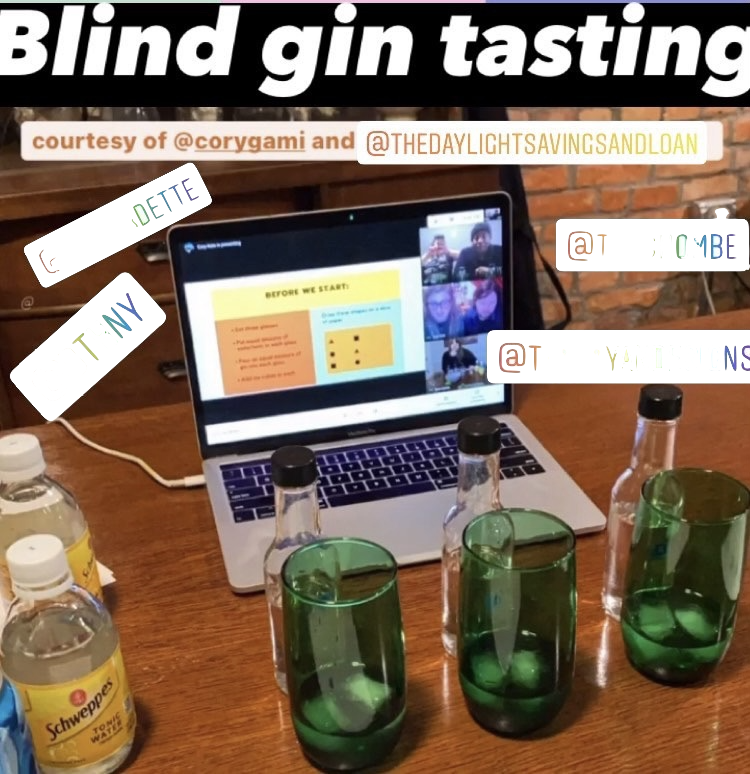
- Procuring three similar consumables to compare to each other, write down what they are, cover them somehow, keeping a key. The beer tasting had four participants, so I wrapped the 12 cans needed for the tasting with red, blue, or black construction paper. The whiskey tasting used airplane bottles, which I wrapped with duct tape and labeled A, B, or C. For the gin tasting, I used blank bottles from Uline and labeled them with shapes. I noticed that people seem to be biased when there is a ‘hierarchical’ coding on the tasteables. I would recommend sticking to something like colors or shapes, over letters and numbers.
- Find a slideshow template you love on canva.com. Click on presentations, and a searchable sidebar on the left appears. There you can set the template search parameters to show free presentations only. I don’t use any templates that have any animation for tastings, because I like to download the slides as pdfs.
- Here are the basic slides you need:
- A nice title page
- Instructions for setting up a scorecard (you can provide these, but that demonstrates a lack of faith in the intelligence of your friends.)
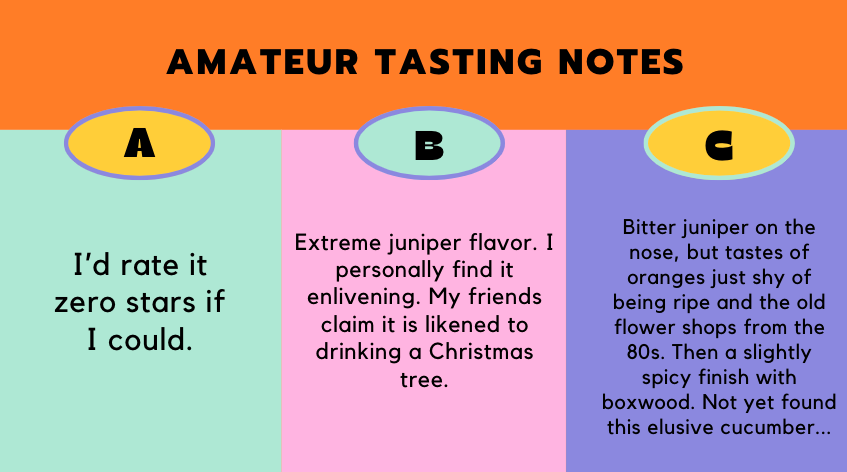
- Amateur tasting notes. Sometimes these are really funny.
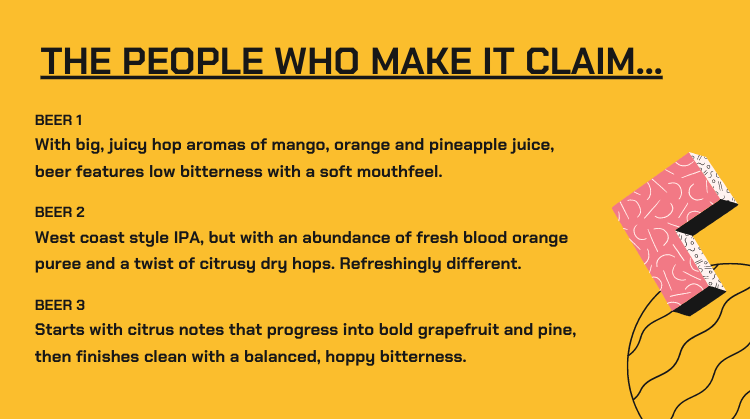
- Professional tasting notes or notes from the maker (it can be really hard to find professional tasting notes from something like a seasonal beer).
- People pick their favorite.
- The reveal slide matches the things being tasted to the tasting notes. For tastings that involve things with different price points, I would put the items in order here so that people can compare their favorite vs. the most expensive.
- Optional slides to add-in (before the guessing slides) can let give people a little more information about what is being tasted. For example, I had to use a mix of whiskey and bourbon for one tastings, and for the fruity IPA tasting, I had a pretty wide range of ABVs. I did not ask people to guess which one was which in these slides. I think it’s best to keep the event to just two ‘guessing’ slides to avoid becoming tedious.
The tastings events themselves take less than an hour. You really don’t want to be doing a super long organized activity online, nobody has the stamina for that.
The best thing about these tastings is that you learn about your own preferences. I’m blessed with poor memory, so even though I set up each of these tastings, making the slideshows just 2 weeks ahead of time meant I was just as much in the dark as other participants. I was so surprised to learn about my own preference for the lowest-cost gin!
Gin tasting by Cory Kete
Whiskey tasting by Cory Kete
Fruity IPA tasting by Cory Kete